Buying Mitsubishi Steering Boxes is not a simple parts search. The correct unit must match your vehicle’s model, production year, steering layout, and mounting points. A box that looks identical online may use a different input shaft, pitman arm connection, or ratio.
This guide presents ten practical tips for choosing with greater confidence. It reflects common workshop checks, supplier documentation, and real installation concerns. Before ordering, record the vehicle identification number, steering-box casting number, bolt spacing, and shaft dimensions. A clear photograph of the old unit can prevent an expensive mismatch. Tiny details matter here.
Condition deserves close attention. Inspect the housing for cracks, damaged threads, fluid stains, and rough shaft movement. Excessive play may indicate worn bearings, seals, or internal gears. However, external appearance cannot prove internal quality. Ask whether the component is new, professionally remanufactured, or used. Request test results, warranty terms, return conditions, and compatibility confirmation in writing.
Do not trust a low price alone. It may exclude shipping, core charges, seals, or specialist adjustment. A reputable supplier should explain its inspection process and provide traceable product information. An experienced technician can also verify preload and steering alignment after installation. I would still pause before buying. Listings can contain incomplete specifications, and even careful buyers miss small differences. These ten tips will help you compare Mitsubishi Steering Boxes more carefully, reduce installation delays, and make a decision based on evidence rather than attractive photographs.
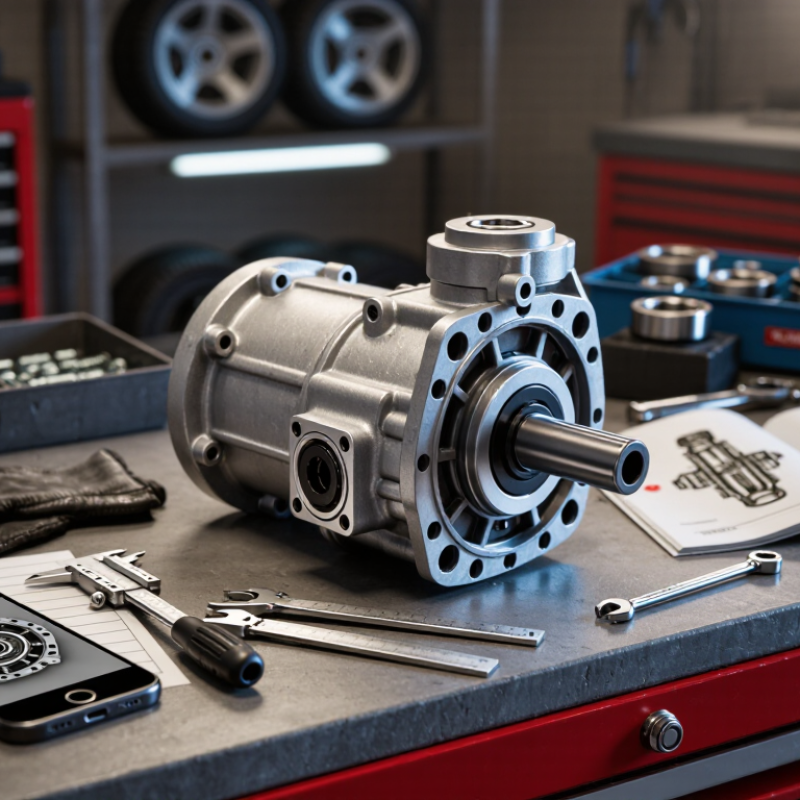
Buying a Mitsubishi steering box starts with the exact vehicle identity. Record the model, production year, engine, axle rating, and cab configuration. A similar-looking housing can use a different input shaft or mounting pattern. Check the VIN on the dashboard and frame. NHTSA states that vehicles built since 1981 generally use a 17-character VIN, which helps confirm production details and factory configuration.
Do not order from a model name alone. Decode the VIN, then compare the steering-box tag, pitman-arm position, bolt spacing, and input-shaft diameter. SAE J1530 provides industry guidance for commercial-vehicle steering-system interfaces and terminology. Ask the supplier to confirm the applicable SAE J1530 specification, including rotation, mounting orientation, ratio, and hydraulic port arrangement. Measure twice.
A useful inspection report should include clear photographs, casting numbers, seal condition, and backlash findings. Industry maintenance studies repeatedly identify loose steering components and poor adjustment as major inspection concerns. The exact percentage changes by fleet and reporting method, so treat broad statistics carefully. I would not trust a listing that shows only one photograph. It is tempting to match by appearance, but that shortcut can fail.
Compare the VIN, model code, and SAE J1530 details on one worksheet. Keep the original measurements. Small differences matter.
Buying a replacement steering box requires more than matching the vehicle year. S&P Global Mobility reported that the average U.S. vehicle age reached 12.6 years in 2024. Older vehicles often carry undocumented repairs or swapped components. Therefore, verify the original unit before ordering. Record the gear ratio, input-shaft spline count, shaft diameter, and mounting-hole spacing. SAE J500 guidance also supports measuring steering geometry rather than relying on appearance.
Tip: Match the gear ratio exactly. A quicker ratio can reduce steering travel, but it may change road feel and turning effort. Count every spline with a bright lamp. Measure mounting centers with a caliper, not a ruler. A two-millimeter error can prevent proper installation. Check the pitman-arm taper and sector-shaft size too. They are easy to overlook.
Tip: Compare supplier drawings with OEM measurements. Request data for lock-to-lock turns, input rotation, and mounting orientation. The aftermarket is expanding as vehicles age, according to recent McKinsey aftermarket analysis, but broader availability does not guarantee correct fitment. I once treated a similar housing as interchangeable; it was not. That mistake showed why photographs are weak evidence. Recheck the ratio and spline count against service records, then inspect for shaft play, damaged threads, or oil staining before installation. Physical confirmation still matters.
When buying a used steering box, hydraulic pressure deserves more attention than a clean casing. The usual industry reference is 70–100 bar, but it is not a universal pass mark. Each steering system may require a narrower specification. Check the exact service data for the vehicle, production year, and steering configuration. A pressure gauge at the test port provides stronger evidence than a seller’s verbal assurance. “It feels fine” proves very little.
Warm the hydraulic fluid before testing, then use a calibrated gauge with a rating above 100 bar. Inspect the fittings for leaks before starting the engine. Measure pressure at idle and at the specified engine speed. If the procedure permits, turn the wheel near full lock only briefly. Holding it there can create heat and distort the reading. Record the pressure, fluid temperature, and test conditions. Low pressure may indicate pump wear, an internal bypass, or a relief valve problem. Excessive pressure can also damage seals and hoses.
A pressure reading outside the model-specific range should trigger further inspection, not an immediate purchase. I would not trust one rushed measurement. My own checks can miss a small internal leak when the fluid is cold. Ask for a second test after warm-up, and compare steering effort during slow parking maneuvers. Photograph the gauge reading and casting details for your records. Small evidence matters when the replacement cost is high.
When buying a steering box, verify the exact application before comparing prices. Match the vehicle year, engine, steering linkage, mounting pattern, and shaft position. A clear photograph helps, but a part number and VIN check are safer. Ask whether the unit is new or remanufactured, and request its measured lash, preload, and pressure-test results.
Traceability matters more than polished packaging. A supplier following IATF 16949 should connect each unit with inspection records, material lots, technician checks, and final test results. Look for a serial number, production date, test pressure, and documented calibration equipment. These details make defects easier to investigate. They also show whether the process is controlled, not merely advertised. Confirm that seals, bearings, and bushings were replaced when needed. Do not assume every remanufactured box received the same treatment.
I once focused too heavily on price and overlooked return-shaft play. That was a poor inspection habit. Now I check smooth movement from lock to lock, unusual binding, fluid leakage, and the condition of mounting surfaces. Ask about warranty terms, core requirements, and installation guidance. A certified quality system does not guarantee perfect vehicle fitment. It supports consistency and accountability. Keep the invoice and traceability label with the service record. Small details often decide whether the steering feels precise or disappointing.
| No. | Buying Tip | What to Verify | New Unit Consideration | Remanufactured Unit Consideration | Quality and Traceability Evidence | Recommended Action |
|---|---|---|---|---|---|---|
| 1 | Confirm the exact application | Match vehicle year, model, engine, drive configuration, steering position, and mounting arrangement. | Usually supplied to a defined application specification, but compatibility must still be checked. | Part identification is critical because housings and internal components may differ between applications. | Request a part-number cross-reference, dimensional drawing, and application verification record. | Verify before purchase |
| 2 | Compare new and remanufactured total cost | Evaluate purchase price, core charge, shipping, return freight, labor, seals, and warranty coverage. | Higher initial cost may be appropriate where downtime or long-term service life is the priority. | Often provides a lower acquisition cost when the core housing is reusable and correctly restored. | Ask for a written quotation showing core requirements, exclusions, warranty terms, and return conditions. | Compare total cost |
| 3 | Inspect the housing condition | Check for cracks, distortion, corrosion, damaged threads, worn bores, and previous unauthorized repairs. | A new housing generally reduces risk associated with previous fatigue, corrosion, or impact damage. | A suitable remanufactured housing should pass dimensional inspection and crack or surface-defect checks. | Look for recorded inspection results, acceptance criteria, measurement equipment identification, and inspector approval. | Accept reman only with records |
| 4 | Check internal component replacement | Determine which gears, bearings, bushings, seals, shafts, and fasteners are replaced or reused. | Internal components are normally supplied as part of a new assembly, subject to the stated specification. | Reused components should meet documented wear limits; critical worn parts should be replaced rather than merely cleaned. | Request a build sheet listing replaced parts, reused parts, measured clearances, and final assembly status. | Review the build sheet |
| 5 | Verify steering ratio and travel | Confirm gear ratio, input rotation, output travel, lock-to-lock movement, and steering-center position. | Suitable for applications requiring a defined original-equipment configuration. | Calibration and adjustment are essential because incorrect travel or center position can affect handling and alignment. | Request end-of-line test results for ratio, travel, backlash, torque, and center position. | Match the original specification |
| 6 | Evaluate sealing and leakage control | Check shaft seals, O-rings, gaskets, plugs, breather arrangements, and pressure or leak-test requirements. | New sealing components normally reduce the risk of age-related seal deterioration. | All service seals should be replaced with compatible materials, and the completed unit should be leak tested. | Ask for leak-test pressure, test duration, acceptance limit, test date, and serial or batch linkage. | Require a leak-test record |
| 7 | Review material and process controls | Assess heat treatment, machining, cleaning, surface protection, torque control, and contamination prevention. | New components can offer consistent material and process control when supported by controlled manufacturing records. | Remanufacturing quality depends on controlled cleaning, machining, inspection, and reassembly procedures. | Prefer suppliers that can provide process-control plans, calibrated-tool records, nonconformance procedures, and batch identification. | Check process discipline |
| 8 | Confirm IATF 16949 traceability | Verify whether the relevant production or remanufacturing process is covered by an active automotive quality system. | Quality-system coverage may support controlled production, inspection, and corrective-action processes. | Traceability should cover the incoming core, cleaning, machining, component replacement, testing, and final release. | Request certificate scope, certificate validity, lot or serial traceability, inspection records, and corrective-action history where applicable. | Demand documented traceability |
| 9 | Assess warranty and failure support | Review warranty duration, mileage or usage limits, claim procedure, exclusions, and technical support response. | May be preferable when the installation requires maximum predictability and a clear replacement process. | A strong warranty is valuable, but confirm whether labor, fluid damage, core return, and installation errors are excluded. | Ask for a written warranty document and a nonconformance or return-material authorization process. | Compare warranty terms |
| 10 | Plan installation and final verification | Check flushing requirements, compatible fluid, hose condition, mounting torque, steering alignment, and bleeding procedure. | New units still require correct installation, system cleanliness, and post-installation verification. | Correct installation is especially important because contamination or incorrect adjustment can cause premature failure. | Keep the invoice, serial or batch number, installation date, test results, alignment report, and removed-unit photographs. | Document the complete installation |
Tip 1: Confirm the exact casting number, mounting pattern, and shaft size.
Tip 2: Read the warranty period carefully. Coverage may exclude labor, shipping, seals, or commercial use.
Tip 3: Ask whether the warranty is full replacement or prorated.
Tip 4: Get the core charge in writing. Check the refund deadline, return label, and damage exclusions. A missing tag can cost money.
Tip 5: Request a documented leak test. The report should show test pressure, hold time, fluid type, and final results. SAE J1221 provides useful hydraulic steering test guidance, although vehicle-specific limits still control.
Tip 6: Ask whether the unit was tested cold and after warming. Some leaks appear only after expansion.
Tip 7: Inspect the returned core before shipping it. Photograph the housing, ports, and input shaft.
Tip 8: Demand a backlash report with measured play at center position. “Passed inspection” is vague. Industry technicians often treat excessive center play as a warning sign, not a cosmetic defect.
Tip 9: Compare adjustment settings, not just prices. A tight box may bind; a loose box may wander.
Tip 10: Compare the total cost after freight, core fees, and possible alignment work. APRA’s 2023 remanufacturing briefing cites up to 85% lower energy use than new-part production, but quality varies between rebuilders. I still question unusually cheap units. A clean bench proves little. Ask for test records, technician sign-off, and a clear remedy if steering effort or leakage returns.